 How to cut large pieces of fabric straight into a pattern is one of a beginner’s first doubts. Besides, cutting fabric in a completely straight way can be a somewhat stressful process for an individual.
But before deciding to start with the how-to cut fabric straight with scissors process or wanting to cut a piece of fabric without any guideline, I recommend you to take into account these following tips to make it correctly. Any cut that you could make wrong can give you too many problems in the piece you want to sew. Some of the issues you might have are a deformed piece, different lengths, or two pieces that should be properly created and matched.
Something that you should keep in mind is that it is not only convenient to cut the fabric straight, but also to take into account other guidelines to have an excellent finish on the garments. You may think that this is an easy task, but what I can tell you: This is a job that must be done carefully!! I am sure this article will be of great help!
How Do You Cut Fabric Evenly? And What Materials Do You Need to Cut a Fabric Straight?
Well, first of all, you must know that there is not only one way to cut the fabric. Times change, methodologies change, and different methods are created to help you achieve what you want in your garments.
Remember that maybe, your cutting will not be so perfect since the first moment, but you will master your technique. Do not get stressful!
Rotary Cutter:
This is one of the tools that people feel most comfortable using. This is designed to create cuts in straight lines without too much effort.
Scissors:
Also, the scissors are perfect for making a fabric cut. You should likely draw a line as a guide so that you are not mistaken.
How Do You Cut a Straight Line With Scissors?
As we have been talking, we have a method about how to cut fabric straight with scissors. We will be explaining to you the methodology you must follow to create a perfect cut.
Step 1: Wash Your Fabric!
There is no more natural way to cut your fabric than as a first step to wash it. You must create this a total habit!! Now, we explain why… When you have a cloth that has not been washed, it can shrink a little bit, that is why, to avoid any possible issue, it is better to wash and dry it.
Step 2: Iron the Fabric
To avoid any wrinkles, you should iron the fabric to proceed with the following instructions.
Step 3: Prepare and Always Use a Flat Surface
Every time you want to cut fabric to make a piece, it is essential that you use a flat surface to make possible cuts. In order for you to draw a straight line, you should not use surfaces such as carpets, or any place that is not solid.
Something vital that you should take into account is that you should not let the fabric hang on the corners, it will cause to your fabric a bad cut without being able to realize it before.
Step 4: Find a Straight Edge
You need to look for a straight edge to start cutting your fabric, if there is no utterly straight edge, cut one to work on it.
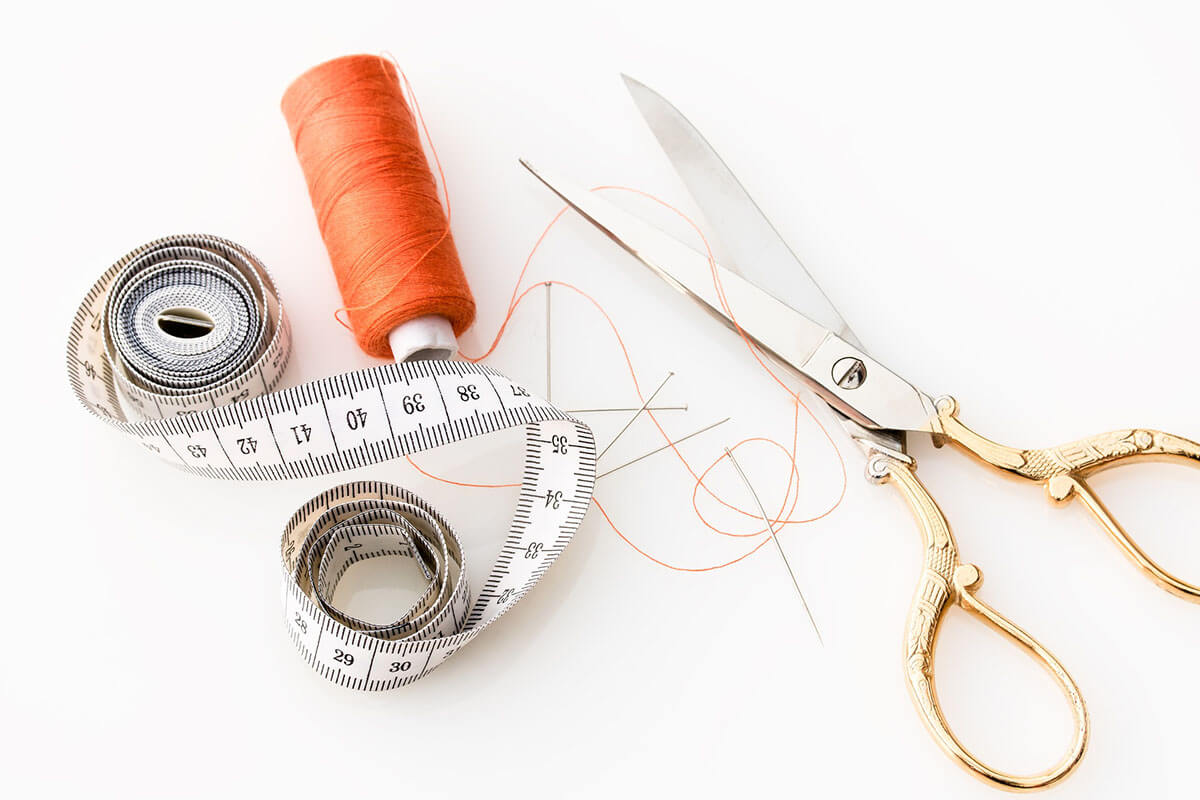
Step 5: Use Sewing Scissors and a Ruler to Create a Line
Choosing the right scissors is a crucial process in this part; remember that not all scissors are for cutting cloth. That is why, besides, you must first draw a line to have accurate dimensions and that you can guide yourself when you do it with the scissors.
Step 6: Start Cutting, Guide Yourself With the Edge of the Table
To achieve a 90-degree angle in the cut you have made, you will need to start cutting on the line currently drawn. When you are done, you can use the table to match the fabric with the corner of the table or the edge of the stable place you are using.
In case you find outer parts, you can start with the scissors to cut those parts.
Step 7: Measure the Size You Need
After getting the 90-degree angle, it will be necessary to measure the size you need, and after all, the next step should start measuring.
For example, if you need to make a cutting of about 24-inch square, you must be placing the end of the ruler against the right edge, then measure 12 inches. Then raise the rulemaking sure everything is completely aligned and re-measure the 12 inches until you reach the desired amount.
How Do You Cut Curtain Fabric Straight With a Rotary Cutter?
Now, we will learn how to cut fabric straight with a rotary cutter and how to cut fabric straight for curtains. Remember that we already saw how to do it with scissors. Therefore, another reason to learn how to do it is that all people want to save some money. You can do it by learning how to cut it efficiently and economically.
We will follow most of the steps above.
- First, wash and iron your fabric to avoid any potential problem with the fabric.
- Start to stretch the curtain fabric to help the threads restore.
- In any case that the piece you will cut is too large to manage it, you can fold the fabric into half lengthwise to make it more manageable size.
- Put your ruler to create a guideline to follow.
- You must hold the rotary cutter to remove the part outside the line you draw. It would be best if you did it to all the squared-up to make a perfect cut in all parts.
End Words
We want you to give you the steps as simple as we can to follow them more quickly. Now, you know how to cut large pieces of fabric straight and how to cut fabric straight for curtains with a rotary cutter and with scissors.
Therefore, you will not have any excuses to follow the same process if you want to know how to cut fleece fabric straight or how to cut spandex fabric straight. I hope this article can save your life and your pocket!